

The Complete Guide to Tubeless Tire Setup and Maintenance


Want to build strength to support your running?
Get targeted strength routines and mobility exercises designed specifically for runners directly on-site. Try asking Raye: 'What are 3 key gym exercises to improve running economy?' Get strength tips
Step by Step Starting Out
Making the switch to a tubeless setup is arguably the single best upgrade you can make for your cycling performance. I remember my first time ditching the inner tubes; the feeling of being able to run lower pressures without the constant anxiety of a pinch flat was a total game-changer. It feels like you are gliding over the tarmac rather than fighting it. However, I know the process can seem a bit daunting at first, especially when you consider the mess of sealant involved.
First, you need to ensure your rims are properly taped. This is the foundation of your entire system. If your rim tape is peeling or poorly applied, you will never get that airtight seal. Clean the rim bed thoroughly with isopropyl alcohol to remove any residual grease or dust. Apply the tape firmly, starting a few inches before the valve hole and overlapping by a few inches on the other side. Use a plastic tyre lever to smooth it down, ensuring there are no air bubbles trapped underneath.
Next, install your tubeless valves. Make sure the rubber grommet is seated correctly against the rim profile. Don't go overboard with the locknut; just tighten it by hand until it is snug. Over-tightening can deform the rubber seal, leading to slow leaks that drive you mad. Once the valve is set, mount one side of the tyre, then the other, ensuring the beads are tucked into the deepest centre channel of the rim to make the fit easier.
Before you seal the tyre, I recommend adding your liquid sealant through the valve core using an injector syringe. This avoids the messy 'pour and pray' method. Once the sealant is in, replace the valve core and inflate. You will hear those satisfying 'pops' as the tyre beads seat into the rim hooks. Give the wheel a good shake and spin to ensure the sealant coats every inch of the inner casing.
How to Build this into my life
The beauty of a well-maintained tubeless system is that it becomes invisible. You don't have to think about it until it is time for a refresh. I tend to check my tyre pressures before every single ride. Even if you don't have a puncture, your tyres will lose a small amount of air over time. Building this into your pre-ride ritual takes all of thirty seconds and ensures you are always running at your optimal pressure for the day's conditions.
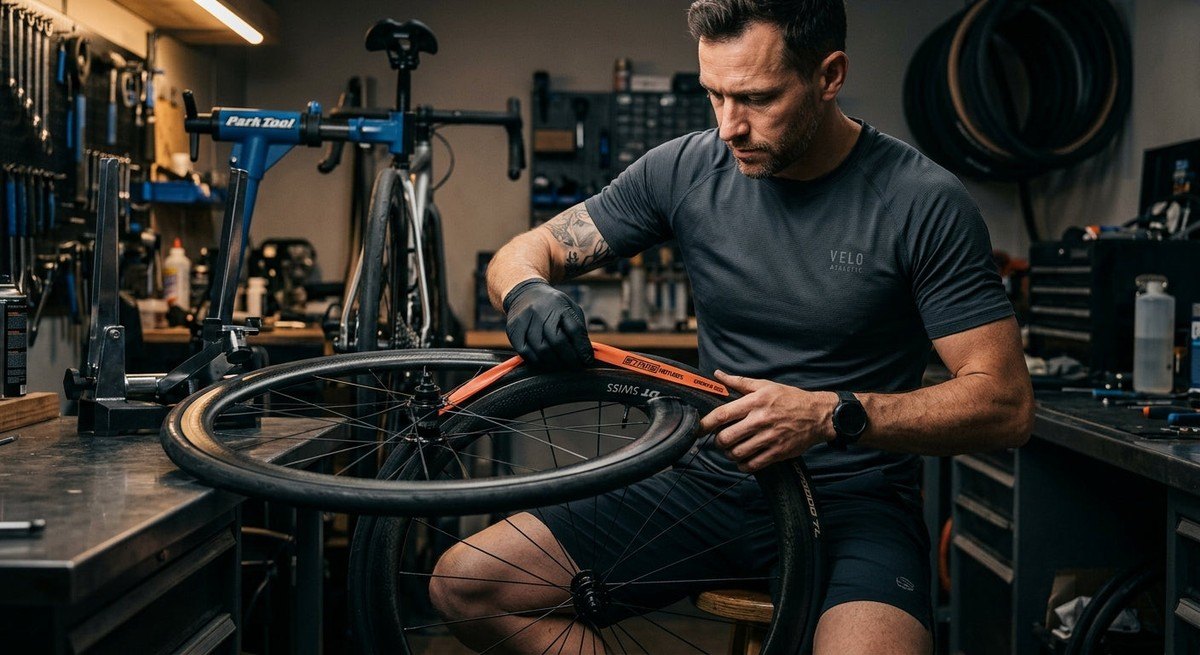
Every three months, I make it a habit to check the state of my sealant. You can do this by giving the wheel a gentle shake near your ear; if you hear a sloshing sound, you are likely good to go. If it sounds hollow, it is time to top up. I usually just pop the valve core out and inject another 30ml to keep things protected. It is a small price to pay to avoid being stranded on a wet Tuesday evening.

Have a specific performance goal in mind?
Get direct feedback on your training targets right here on the page—no sign-up or account required. Try asking Raye: 'How should I adjust my weekly mileage for a sub-20 minute 5K?' Ask about your goals
Don't forget to inspect your tyres for cuts or embedded shards of glass after a long ride. If you find a small hole that the sealant has already plugged, you can leave it be, but larger gashes might need a tubeless plug or 'bacon strip' from the outside. These little tools are absolute lifesavers and have saved me from having to put a tube in on more than one occasion.
Finally, keep an eye on your tyre wear. Even the most expensive rubber has a shelf life. As the tread wears down, your puncture resistance decreases significantly. Prioritise your safety by replacing the tyres before they become completely bald. It is a significant investment, but protecting your wheels and your ride quality is worth every penny.
Essential Kit
To keep your tubeless setup running smoothly, you need a few core items in your workshop. A high-volume track pump with a 'booster' chamber is incredibly helpful for seating stubborn tyres. If you don't have one, a dedicated air compressor or a CO2 inflator will do the trick nicely. Having a quality set of tyre levers—ones that won't scratch your fancy carbon rims—is also non-negotiable.
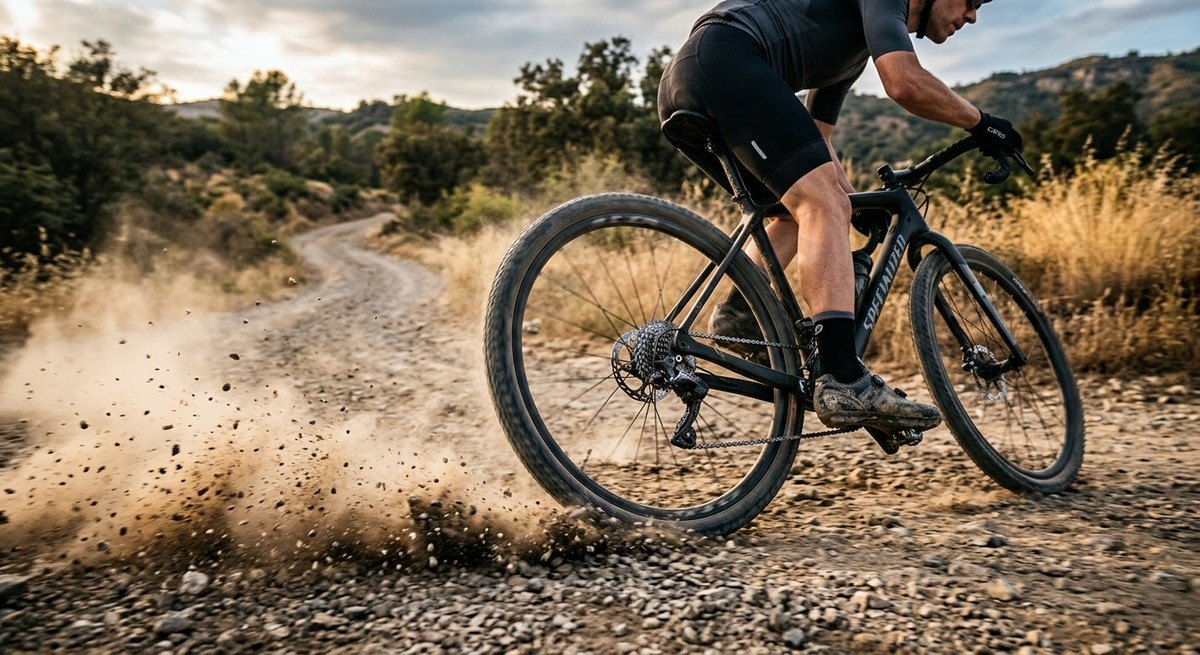
Keep a bottle of high-quality sealant on your workbench at all times. Not all sealants are created equal; some are better for high-pressure road tyres, while others are designed for the larger volumes of mountain bike setups. Research which one works best for your specific riding style. A valve core removal tool is another tiny, inexpensive item that will save you a world of frustration when you need to top up your sealant.
Lastly, always carry a small tubeless repair kit in your saddlebag. This should include a few plugs, a reamer tool, and maybe a small spare bottle of sealant. With these basics, you are essentially creating a self-healing system that allows you to focus on the road ahead rather than worrying about the next puncture. It is all about peace of mind, and honestly, once you go tubeless, there is simply no going back.
10 alternative items to try
- Stan's NoTubes Sealant: This is the industry gold standard for a reason. It works across a massive range of temperatures and pressures, effectively sealing punctures up to 6mm in size. It is easy to wash out of the tyre when you finally decide to make a change, and it doesn't leave a sticky, impossible mess behind.
- Muc-Off No Puncture Hassle: This sealant is a favourite for its vibrant pink colour, which makes finding leaks incredibly easy. It contains micro-particles that help bridge larger tears, and it is ammonia-free, meaning it won't corrode your alloy rims or damage your expensive carbon wheels over long periods of use. It smells fantastic too.
- Orange Seal Endurance: If you are a high-mileage rider, this is the one for you. It lasts significantly longer than the standard formula, meaning you don't have to top up your tyres as often. It is specifically designed to handle the rigours of long-distance training and ensures your tyres remain sealed for months.
- Continental RevoSealant: Designed to work perfectly with Continental's high-performance range, this sealant provides a very reliable seal without the ammonia that can degrade latex. It is highly effective at coating the tyre sidewalls, which is essential for those running lighter, thinner tyres that might otherwise suffer from slow seepage through the casing.
- Schwalbe Doc Blue: Developed in partnership with Stan's, this is a fantastic all-rounder. It is particularly good for those who use Schwalbe tyres, as it is optimised for their bead profiles. It seals quickly and consistently, and it is very easy to source from almost any bike shop in the country, which is a major plus.
- Effetto Mariposa Caffelatex: This sealant is unique because it foams up when the wheel is spinning. This means it covers the entire inner surface of the tyre, including the sidewalls, providing better protection than liquid sealants that just pool at the bottom. It is a brilliant choice for those who value total coverage and rapid sealing.
- Finish Line Tubeless Sealant: This is a great choice if you are tired of the latex-based options that dry out quickly. It uses a non-latex formula that doesn't clump up or ball up inside the tyre. This means you get a much longer service life and a cleaner interior when it is time to swap.
- Joe's No Flats Elite Racer: If you are into competitive racing, this sealant is designed to be lightweight and fast-acting. It focuses on sealing punctures instantly so you don't lose any pressure during a race. It is a bit more aggressive, so keep an eye on it, but the performance benefits for speed are undeniable.
- Milkit Sealant: This system is revolutionary because it is designed to be used with the Milkit valve system, allowing you to check and top up your sealant without letting all the air out of your tyre. It is a clean, efficient, and very professional way to manage your tubeless setup without any mess.
- WTB TCS Sealant: WTB has been a leader in tubeless technology for a long time, and their sealant reflects that expertise. It is a very robust formula that handles the high stresses of gravel and mountain biking perfectly. It is reliable, easy to clean, and provides a very consistent seal for all-day adventures.


