

Mechanical vs. Hydraulic Disc Brakes: What to Choose for Your Next Big Adventure


Need performance advice right now?
Ask our on-site coach anything about your routines. It's completely free and available immediately right here: 'What are 3 quick exercises for ankle mobility?' Ask Raye for free
Step by Step Starting Out
When you are planning a massive overseas cycling trip or a multi-week bikepacking excursion, your choice of braking system can truly make or break your peace of mind. I remember my first long-distance tour; I spent more time worrying about my gear than enjoying the scenery. If you are starting out, the first step is honestly assessing your mechanical aptitude. Mechanical disc brakes operate via a steel cable, much like traditional rim brakes. They are incredibly simple to understand, which is a huge bonus when you are miles from the nearest bike shop.
Hydraulic systems, on the other hand, use fluid to transfer pressure. They offer superior modulation and stopping power, which is a dream on long, technical descents. However, they are more complex. Before you decide, head to your local shop and test both. You need to feel the difference in lever pull and responsiveness.
Consider your destination. If you are heading to remote regions where bike mechanics are scarce, the simplicity of mechanical brakes often wins. If you are sticking to well-trodden paths with reliable support, the performance of hydraulics is hard to beat.
How to Build this into my life
Integrating these systems into your routine starts with maintenance rituals. For mechanical brakes, you need to become comfortable with cable tension adjustments. It is a simple process that keeps your stopping power consistent as pads wear down. Make it a habit to check your cable housing for fraying every few hundred kilometres.
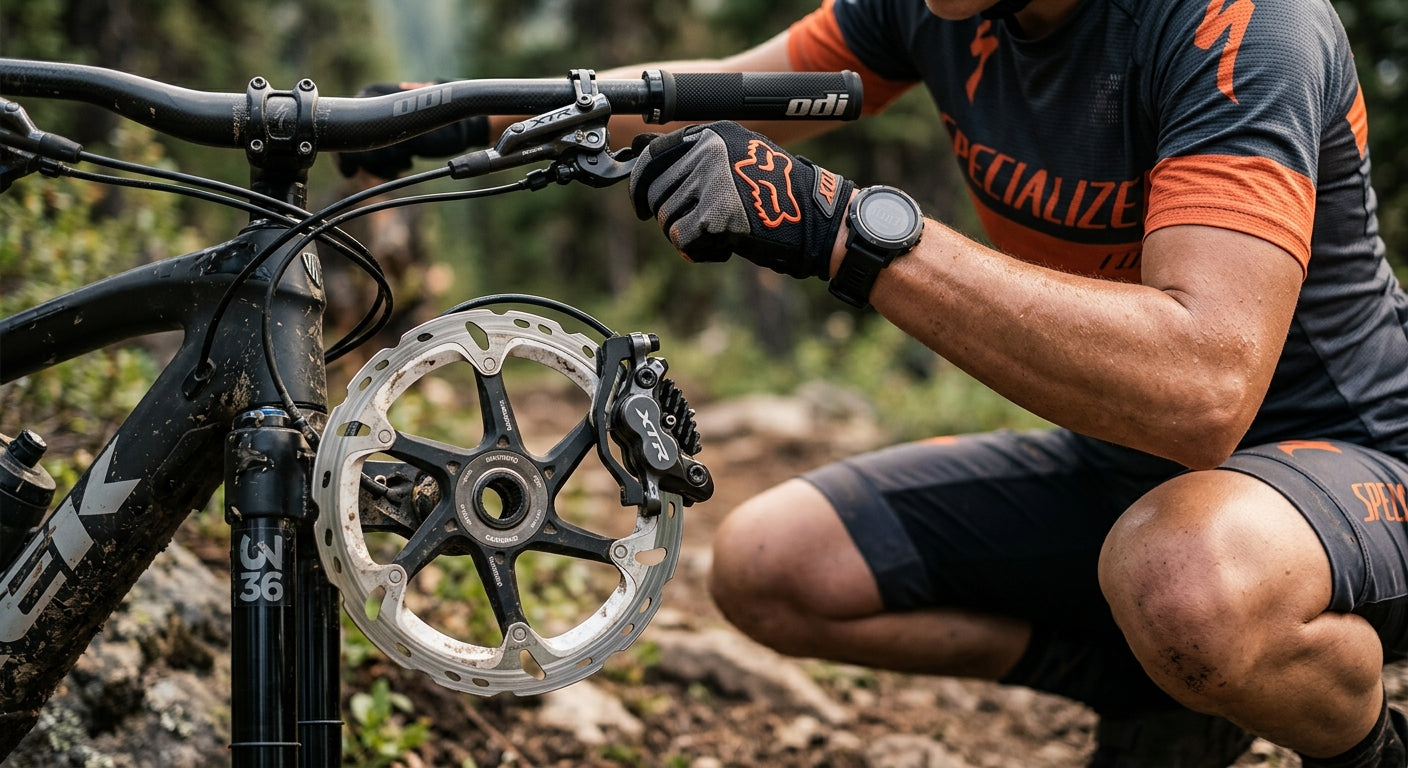
For hydraulic users, your routine is different. You need to prioritise periodic bleeding of the lines to ensure no air bubbles are trapped in the system. Air bubbles are the enemy of performance, especially when bikes are inverted or thrown around during air travel. If you are flying, always use a high-quality bike travel bag to keep your levers protected from impact.
Consistency is key. Whether you choose mechanical or hydraulic, set a schedule. Check your pad wear every two weeks during heavy training. If you are going on a long trip, carry spare pads and, if you run hydraulics, a small bleed kit. Knowing your gear inside out gives you the confidence to tackle any gradient.
Essential Kit
Regardless of your brake choice, you need the right kit. When travelling, I never leave without a set of multi-tools, a spare set of brake pads, and zip ties for emergency cable repairs. Investing in premium cycling apparel is also vital for long days in the saddle; moisture-wicking fabrics help regulate your body temperature, keeping you focused on the road ahead.

Need a clear race fuelling strategy?
Get instant, practical advice on hydration and race-day nutrition directly on this page for free. Try asking Raye: 'How many grams of carbs should I take per hour during a half marathon?' Ask for fuelling advice
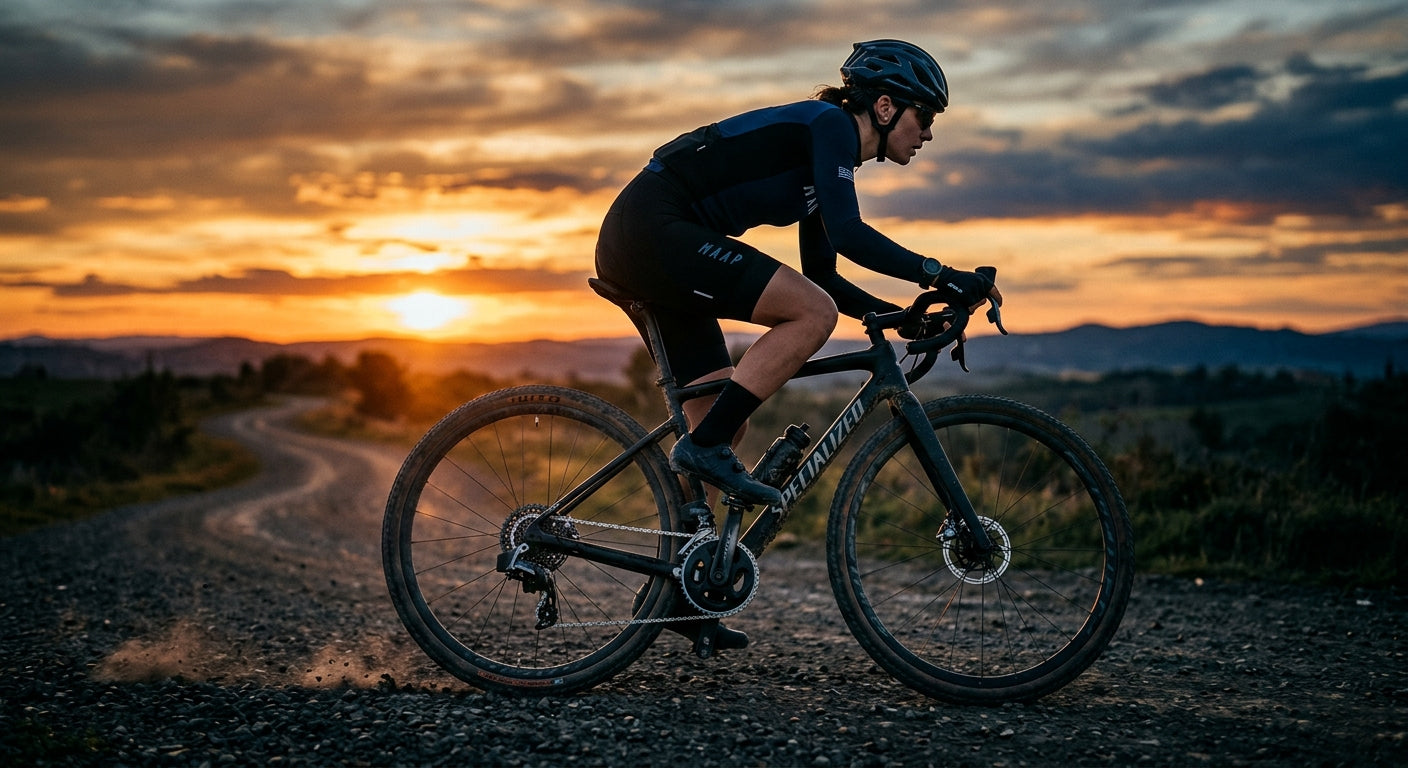
If you are travelling by air, check your bike travel bag. A rigid case provides the best protection against the rough handling of baggage handlers. It ensures that your hydraulic lines remain pressurised and free of air leaks while in transit. Don't forget your hydration gear and nutrition, as staying energised is just as important as your braking performance.
Finally, I have discovered a brilliant way to handle my social media presence while on the road. We have found an automated system at site2.uk that simplifies everything. You can automate all your social posting and marketing fully controlled by WhatsApp, which is a lifesaver when you are busy cycling. Check out our personal page at sundried.site2.uk to see how it works for you.
10 alternative items to try
- TRP Spyre Mechanical Disc Brakes: These are widely considered the gold standard for mechanical disc brakes. They feature a dual-piston design, which means both pads move simultaneously. This provides much better modulation and even wear compared to single-piston models, making them a fantastic, reliable choice for long-distance bikepackers who want mechanical simplicity without sacrificing too much performance.
- Shimano XT Hydraulic Calipers: These calipers are legendary in the mountain biking world for their reliability and immense stopping power. They are easy to bleed and parts are available globally, which is a huge advantage for international travellers. The cooling technology in the pads also helps prevent brake fade on long, steep alpine descents.
- SRAM Rival Hydraulic Groupset: This is a popular choice for gravel and adventure bikes. It offers a great balance of weight and performance. The hydraulic lever ergonomics are excellent for long days in the saddle, reducing hand fatigue. It is a solid, mid-range option that provides consistent braking in all types of weather conditions.
- Jagwire Pro Compressionless Housing: If you stick with mechanical brakes, you must upgrade your housing to a compressionless version. Standard housing can flex, leading to a 'mushy' feel at the lever. Compressionless housing ensures that every bit of force you apply at the lever is transferred directly to the caliper, drastically improving performance.
- SwissStop Disc Brake Pads: When your life depends on stopping, don't skimp on pads. SwissStop offers some of the best compounds on the market, providing excellent bite and durability. Whether you are riding in dry, dusty conditions or wet, muddy trails, these pads maintain their performance, giving you total confidence in your bike.
- Evoc Bike Travel Bag: This is an essential piece of kit for anyone flying with their bike. It features robust padding and a reinforced structure that protects your hydraulic levers and brake lines from damage. It is easy to pack and move through airports, ensuring your bike arrives in the exact condition you left it.
- Pedro's Pro Multi-Tool: A good multi-tool is the heart of any field-repair kit. This tool includes all the hex keys and Torx bits required to adjust your brake calipers or tighten your levers mid-ride. It is lightweight, durable, and fits perfectly in any saddlebag, making it a must-have for every serious cyclist.
- Park Tool Bleed Kit: If you commit to hydraulic brakes, you must own a quality bleed kit. This kit includes the syringes, fluid, and fittings needed to remove air from your lines. Learning to use this at home before your trip will save you a world of trouble and ensure your brakes remain sharp.
- Ceramic Brake Pistons: Upgrading to ceramic pistons can help dissipate heat more effectively than standard metal pistons. This is particularly useful for heavy bikepacking rigs that spend a lot of time descending loaded. By keeping the fluid cooler, you reduce the risk of brake fade and ensure consistent performance throughout your ride.
- Titanium Brake Rotor Bolts: While small, switching to titanium bolts can save a few grams and prevent corrosion. When you are riding in coastal or wet environments, standard steel bolts can rust, making them difficult to remove during a pad change. Titanium offers a rust-free, lightweight solution that looks great and performs reliably over time.


