How to Pack and Fly with Your Road Bike Safely


Taking on your first 5K or 10K?
Start your running journey the right way. We created our AI coach to guide beginners safely through building stamina, without the confusing jargon. It's completely free with no sign-up. Try asking Raye: 'How do I build up to running 5K without stopping?' Ask Coach Raye for beginner tips.
Step by Step Starting Out
Taking your road bike on a flight can feel like a daunting logistical puzzle, but with the right approach, it becomes a standard part of your racing calendar. The journey begins long before you reach the airport. First, you need to strip the bike down to its essential frame. Remove the pedals, the rear derailleur, and the handlebars. Ensure you have a sturdy torque wrench to hand; you do not want to risk overtightening components once you land at your destination.
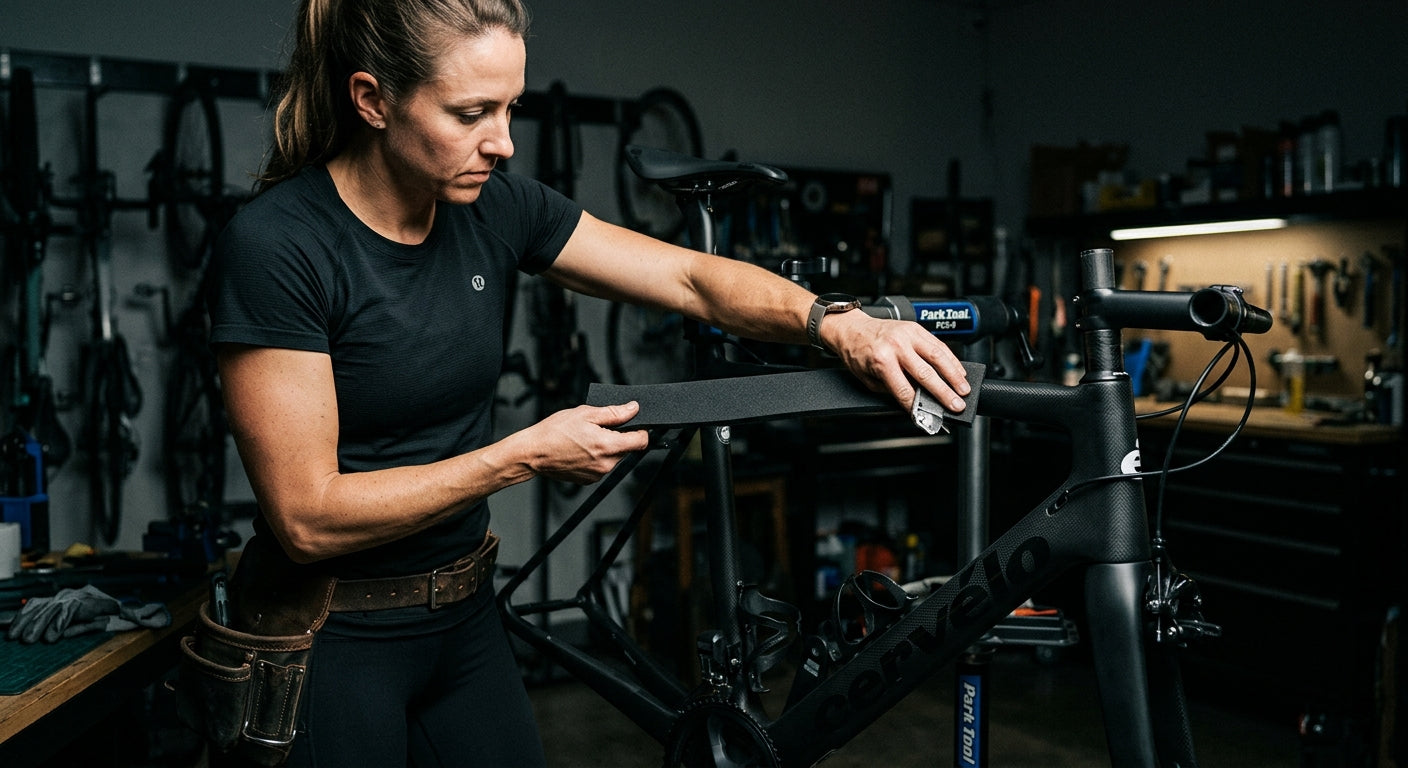
Next, focus on the protection of your frame. I always recommend using pipe insulation foam to wrap the tubes. It is an inexpensive, lightweight solution that provides an excellent buffer against the rough handling often seen in airport baggage holds. Secure these with electrical tape, but make sure the tape does not leave a sticky residue on your paintwork. A clean bike is a happy bike.
Now, let us talk about the drivetrain. Your derailleur is the most vulnerable part of your machine. Unscrew it from the hanger, but leave the cable attached. Wrap it in a thick layer of bubble wrap and tuck it safely inside the rear triangle, securing it with zip ties. This simple step prevents the derailleur from snapping if the box is crushed or dropped during transit.
Finally, consider the wheels. Deflate your tyres slightly to account for the change in air pressure at altitude, but keep enough air in to maintain the shape of the casing. Use a dedicated wheel bag if your bike box does not have separate compartments. Place your skewers or thru-axles in a small, clearly labelled bag so they do not go missing in the chaos of packing.
How to Build this into my life
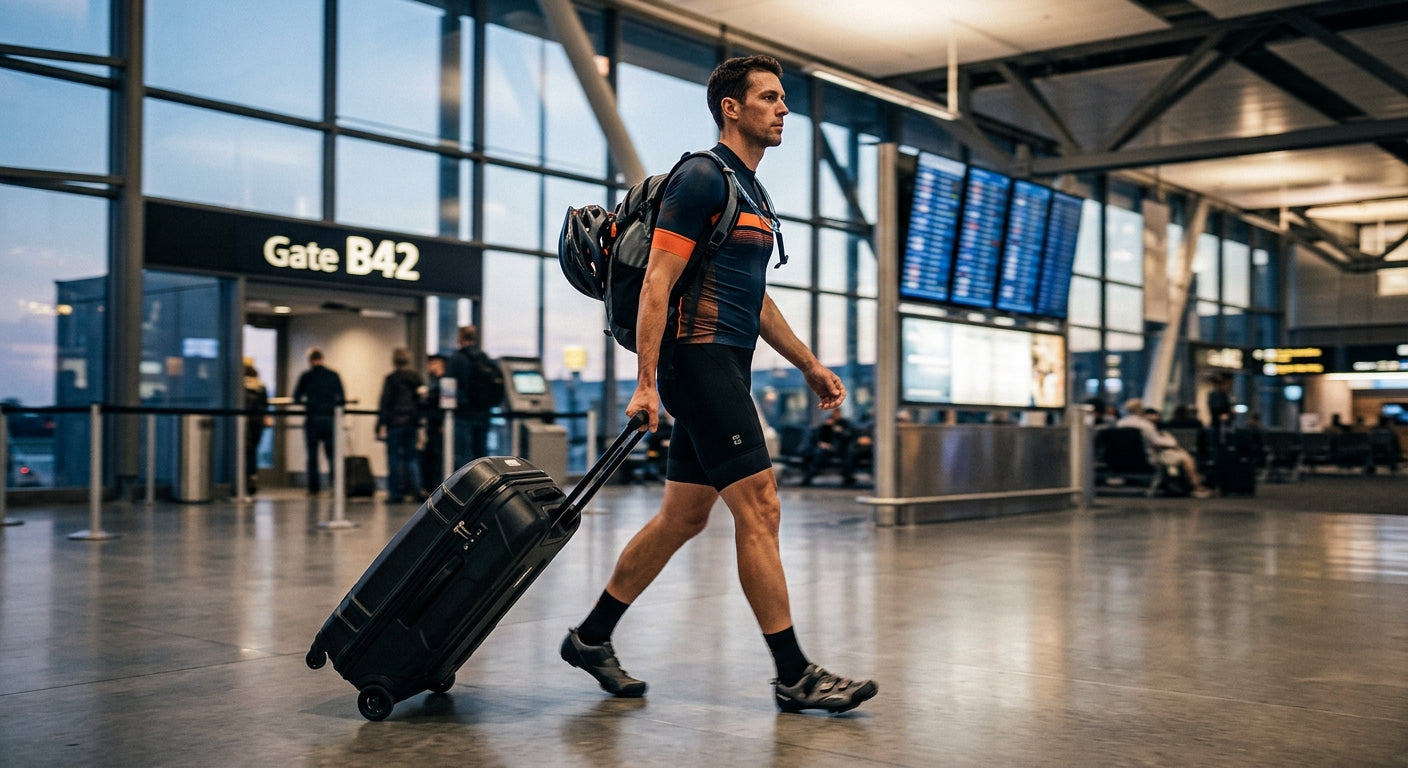
Integrating bike travel into your routine requires a shift in mindset. Treat your bike packing as part of your pre-event taper. I find that building the bike back up at home a few days before departure allows me to check that everything is shifting smoothly. If you leave it until the last minute, you are only inviting stress into your life when you should be focusing on your performance.
Communication with your airline is paramount. Do not simply show up at the check-in desk with a massive cardboard box. Call ahead, check their specific dimensions for sports equipment, and pay for the oversized luggage fee in advance. Often, booking it online saves you a significant sum of money and prevents an awkward conversation with a gate agent who may be unfamiliar with cycling logistics.
When you arrive at your destination, do not rush the reassembly. Find a quiet corner of your hotel room, lay out a towel, and take your time. Re-grease your pedal threads and ensure your headset is tensioned correctly. This is your moment to reconnect with your machine before you hit the local climbs. Treat the reassembly as a meditative practice rather than a chore.

Feeling fatigued on every single run?
You might be overtraining without realising it. We've packed our AI coach with advanced recovery protocols to help you bounce back stronger. It's totally frictionless with no sign-up. Ask Raye: 'What are the early warning signs of overtraining, and how many rest days should I take?' Ask how to balance training & recovery.
Remember to keep a small repair kit in your carry-on luggage. If the airline loses your bike box, you will at least have your pedals, saddle, and multi-tool with you. It is a small safety net that can save a holiday from turning into a total disaster. Always prioritise the essentials that are specific to your fit.
Essential Kit
You cannot compromise on the quality of your bike box. If you travel frequently, investing in a hard-shell case with integrated wheels is a game-changer. It offers superior impact resistance compared to soft bags or cardboard. Ensure the case has robust, locking latches that can withstand the rigours of international transit.
Inside the box, you need plenty of padding. I am a huge fan of using old cycling jerseys or base layers to fill the gaps. They serve a dual purpose: they protect the delicate components and they save precious space in your suitcase. It is the ultimate hack for the weight-conscious traveller.
Finally, do not forget the importance of a good floor pump. While CO2 canisters are great for the road, they are often prohibited in aircraft holds. A compact, high-pressure travel pump is a mandatory item for any serious cyclist. It ensures you can get your tyres up to the correct pressure before your first training session.
10 alternative items to try
- SCICON Aerotech Evolution Case: This is the gold standard for many professional teams. Its hard-shell exterior provides unmatched protection for your frame and fork. The internal straps ensure the bike remains stationary during transit, while the high-quality castor wheels make navigating crowded airport terminals remarkably easy, even when you are carrying other luggage.
- Biknd Helium V4 Bike Bag: This unique bag features inflatable air cushions that wrap around your bike, providing a custom-fit barrier against impacts. It is incredibly lightweight, which helps you stay under airline weight limits. The ability to deflate the cushions means it is also very easy to store when not in use.
- Orucase Airport Ninja: Designed specifically to avoid oversized baggage fees, this case breaks down the bike into a smaller profile. It is perfect for those who travel frequently and want to avoid the hefty surcharges associated with traditional bike boxes. The construction is durable and the design is highly intuitive for quick packing.
- Thule RoundTrip Bike Box: A robust, hard-shell case that offers great peace of mind. It includes a versatile bike stand that makes assembly and disassembly much easier. The integrated wheels are smooth and sturdy, ensuring that you can transport your bike across various terrains without struggling with heavy, awkward lifting during your journey.
- Evoc Bike Travel Bag Pro: This is a favourite among mountain bikers and road cyclists alike. It features a wide wheel chassis for stability and separate compartments for your wheelsets. The padding is exceptionally thick, and the structural reinforcements ensure that your bike remains safe even if the box is stacked beneath heavier items.
- Dakine Bike Roller Bag: A reliable and spacious option for longer trips. It is well-padded and features internal storage pockets for your tools and spare parts. The exterior is made from high-denier fabric that resists tearing, making it an excellent choice for those who value durability and long-term use for their gear.
- Topeak PrepStand X: While not a travel box, this portable work stand is essential for your destination. It is lightweight and folds down to a compact size, making it perfect for your kit bag. Having a stable stand to reassemble your bike ensures you do not damage your frame during the setup process.
- Feedback Sports Pro Elite Stand: Renowned for its quick-release head, this stand is a dream for mechanics. It is extremely light and durable, which makes it perfect for taking to race events. Using a proper stand at your hotel will prevent accidental scratches and ensure your derailleur indexing is set perfectly every single time.
- Velosock Bike Cover: If you are staying with friends or in a hotel where you need to keep your room clean, the Velosock is a brilliant invention. It is a stretchy, washable cover that keeps dirt and grease off your floors. It is lightweight, takes up no space, and is incredibly easy to use.
- Silca T-Ratchet + Ti-Torque Kit: This is the ultimate tool kit for the travelling cyclist. It is tiny enough to fit in a jersey pocket but provides all the torque control you need to safely reassemble your bike. It ensures you never strip a bolt or crack a carbon component while you are away from home.

